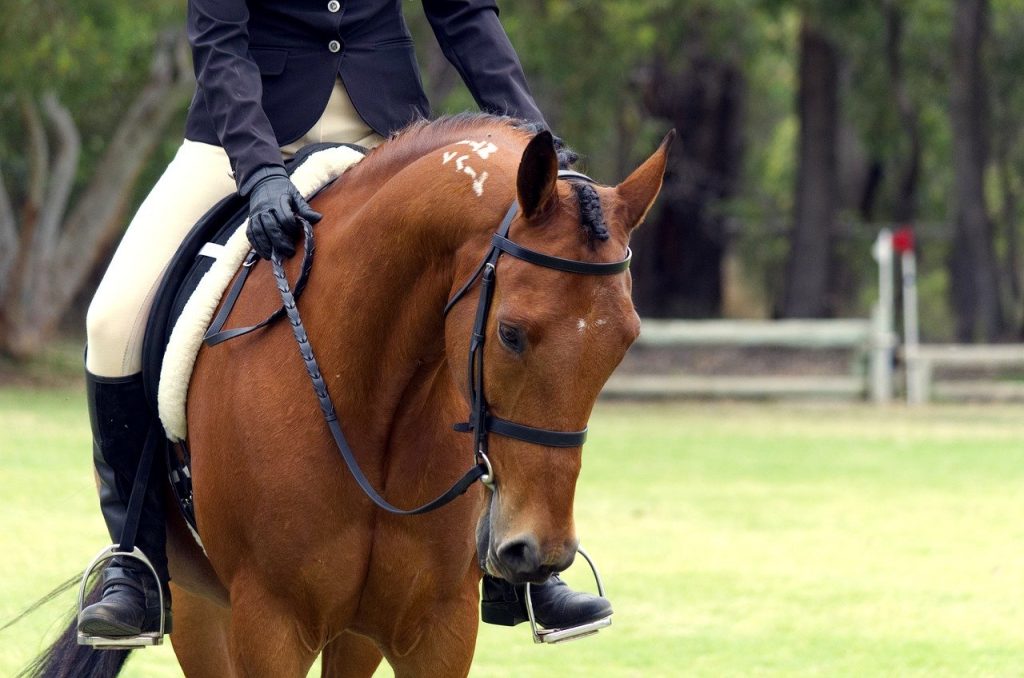
Putting a bridle on a horse is a fundamental skill for any equestrian. Whether you are a seasoned rider or a beginner, mastering this technique is essential for effective communication and control of your horse. This guide will walk you through each step, ensuring you understand the process thoroughly and can perform it safely and confidently.
The bridle is a crucial piece of tack that provides a means to communicate with your horse using reins. It consists of various parts, including the headstall, bit, and reins, each playing a crucial role in the overall function of the bridle.

Understanding the Parts of a Bridle
The Headstall
The headstall is the portion of the bridle that fits around the horses head. It includes the browband, which goes across the horse’s forehead, and the cheekpieces, which connect to the bit.
The Bit
The bit is placed in the horse’s mouth and allows the rider to communicate through the reins. There are various types of bits, each designed to provide different levels of control and comfort.
The Reins
The reins are attached to the bit and used by the rider to direct the horse. They can be made of leather, nylon, or other materials, and come in various lengths and styles.

Preparing Your Horse
Before putting the bridle on your horse, it’s important to ensure they are calm and comfortable. Start by tying your horse securely in a safe area. Use a quick-release knot or cross-ties for safety. Brush the horses face and check for any issues that might make wearing the bridle uncomfortable.

Steps to Putting on the Bridle
Step 1: Hold the Bridle Correctly
Stand on the left side of your horse. Hold the bridle in your left hand, with the headstall at the top and the bit hanging down. Make sure the reins are not in the way.
Step 2: Place the Bit in the Horses Mouth
Gently open the horse’s lips with your thumb and guide the bit into their mouth. Most horses will accept the bit willingly if you’re gentle and patient. If they resist, take your time and try to encourage them softly.
Step 3: Position the Headstall
Once the bit is in place, lift the headstall over the horse’s ears. Be careful not to pull the horse’s ears roughly. Adjust the browband so it sits comfortably across the forehead.
Step 4: Adjust the Bridle
Fasten the cheekpieces, ensuring the bit sits correctly in the mouth. Adjust the noseband and chinstrap so they are secure but not too tight. The bridle should fit snugly but comfortably.

Final Checks and Safety Tips
Check the bridle’s fit one last time. Ensure nothing is pinching or causing discomfort. The bit should rest comfortably in the horses mouth, and the reins should be even.
Common Mistakes to Avoid
Avoid these common mistakes to ensure your horse is comfortable and safe:
- Not checking the bridles fit: An ill-fitted bridle can cause discomfort and affect communication.
- Rough handling: Be gentle to avoid causing fear or resistance.
- Ignoring the horses signals: Pay attention to your horses reactions and adjust accordingly.
Training Tips
If you’re new to bridling a horse, practice makes perfect. Work with a calm, experienced horse initially to build your confidence. Watching professionals or videos can provide valuable insights and techniques.
Maintaining Your Bridle
Regular maintenance of your bridle will ensure it lasts long and functions well. Clean the bridle after each use, and check for wear and tear. Store it in a dry place to prevent mold and damage.
FAQs
What is the easiest way to put a bridle on a horse?
The easiest way is to be patient and gentle. Start by familiarizing your horse with the bridle and make sure they are calm before you begin.
How do you know if a bridle fits correctly?
A correctly fitting bridle will sit comfortably without pinching. The bit should be in the correct position, and the reins should be even.
What types of bits are there?
There are many types of bits, including snaffle bits, curb bits, and Pelham bits, each designed for different purposes and levels of control.
For more detailed information on horse care equipment, you can visit jumping saddle, saddle anesthesia and 3-point saddle bending.
For more general information on horse riding and equipment, you can also check out All Recipes.
As an Amazon Associate, I earn from qualifying purchases.