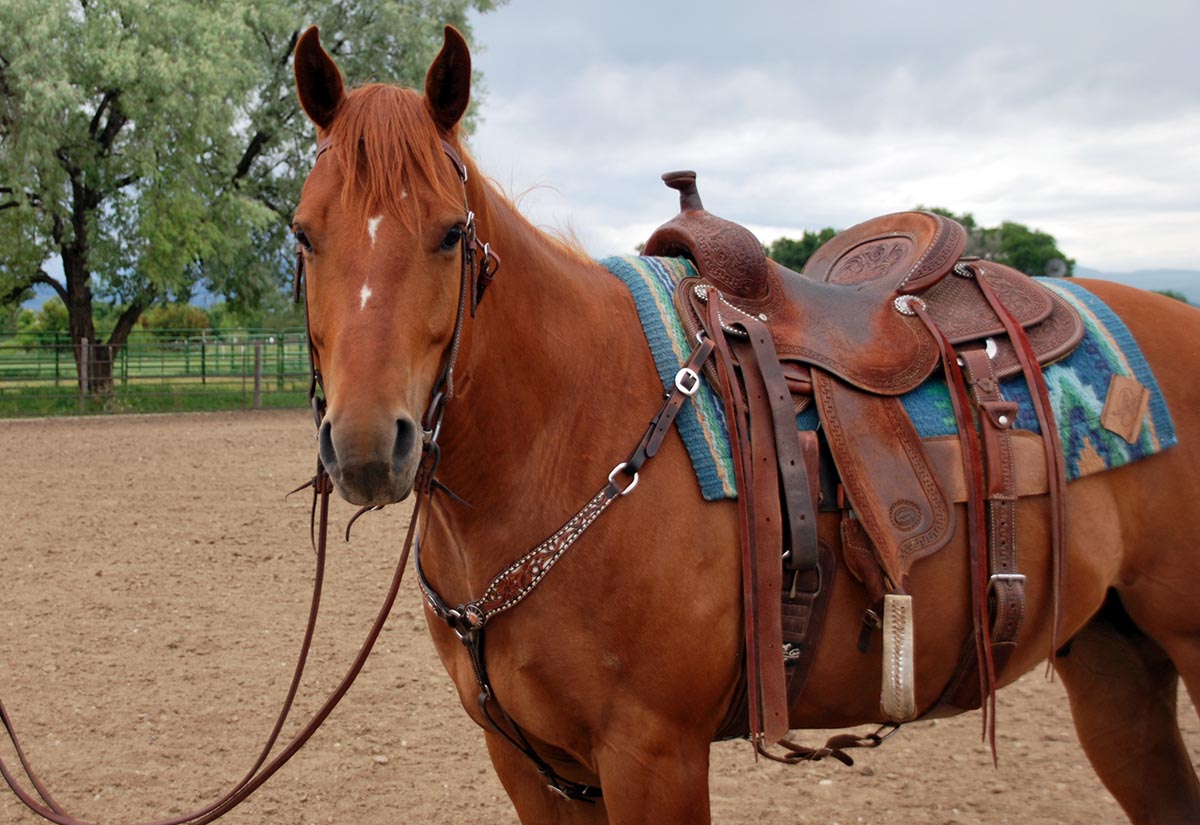
Are you an equestrian enthusiast looking to add a personal touch to your riding equipment? Learning how to make your own horse tack can be both a rewarding and cost-effective project. Handmade tack sets you apart, showcasing your unique style and craftsmanship.
Creating your horse tack not only saves money but can also be a fun and educational experience. In this guide, we will walk you through the various steps to make your own horse tack, offer tips, and highlight essential tools and materials you will need.

Planning and Designing Your Horse Tack
Understand Your Needs
First, determine which pieces of tack you need. Common items include bridles, reins, and saddles. Identify the specific requirements based on your riding style and horse’s comfort.
Creating a Design Plan
Sketch out your design. Consider functionality, aesthetics, and safety. The design phase is crucial for ensuring all parts fit together seamlessly.

Gathering Materials and Tools
Leather and Fabrics
Select high-quality leather or alternative materials suited for horse tack. Materials should be durable and comfortable for your horse.
Essential Tools
Invest in tools like cutting mats, stitching awls, and hole punches. Quality tools ensure precision and durability in your tack.

Crafting the Bridle
Measurements and Cutting
Begin by measuring your horse’s head for a perfect fit. Cut the leather pieces according to your design plan.
Stitching and Assembly
Stitch the pieces together carefully, ensuring strength and durability. Double stitch areas that will endure more stress.
Making Reins
Selecting the Right Width
Choose a width that offers a comfortable grip. Reinforce the ends to prevent wear and tear.
Adding the Buckles
Attach buckles securely. They should be strong enough to handle the tension without coming loose.
Creating a Custom Saddle
Base Construction
Create a sturdy base using your choice materials. Ensure it fits well on your horse’s back, spreading pressure evenly.
Adding Padding
Add padding to enhance comfort. Use high-quality foam or wool for the best results.
Final Touches
Polishing and Finishing
Finished tack should be polished for aesthetics and protection. Apply appropriate treatments to the leather.
Testing Your Tack
Before using your new tack, test it thoroughly. Ensure it fits comfortably on your horse and does not cause any irritation.
Learn to clean
Maintaining and Repairing
Regular maintenance extends your tack’s life. Inspections and timely repairs are essential to keep your tack in top condition.
Evolution of tack
Understanding the evolution of horse tack can give you a better appreciation for the tools and techniques used in its creation. This knowledge can inspire your designs and improve your craftsmanship.
FAQs
Q: What materials are best for making horse tack?
A: High-quality leather is the traditional material, but modern synthetics can also be durable and comfortable.
Q: How much does it cost to make your own horse tack?
A: Costs can vary depending on materials and tools. However, it can be more economical than purchasing ready-made tack.
Q: Is it difficult to learn how to make horse tack?
A: With patience and practice, anyone can learn to make horse tack. Many resources are available to help you get started.
As an Amazon Associate, I earn from qualifying purchases.
