Creating a diy horse browband can be a tremendous and delightful experience for riders. This guide will walk you through making your own browband with ease and enjoyment, adding a personal touch to your horse’s gear. Dive into how you can craft a diy horse browband that stands out and enhances your equestrian style.

Why Make Your Own Horse Browband?
Building your own horse browband has several benefits. Not only can it save you money, but it also allows you to tailor the design to your specific needs and preferences. As every horse and rider have unique styles, a DIY browband reflects your personality and connection with your horse.
The Joy of Personalization
When you make your horse’s browband, you can choose from an array of colors, materials, and designs. This personalization makes the process incredibly rewarding and gives a sense of pride each time you use it. It also ensures that your browband fits comfortably, reducing any potential discomfort for your horse.
Materials You’ll Need
To get started on your diy horse browband, gather the following materials:
- Leather strap (measure your horse’s head for precise length)
- Beads or crystals
- Needle and thread
- Scissors
- Fabric glue
- Decorative elements (optional, such as charms, gemstones, etc.)
Choosing the Right Leather
The leather for your browband should be durable yet pliable. It should also be comfortable for your horse, avoiding any rough edges that might cause irritation.
Step-by-Step Guide to Crafting Your Browband
Step 1: Measuring and Cutting the Leather
Start by measuring your horse’s head to ensure the browband will fit perfectly. Cut the leather strap to this length, with a little extra on each end for attaching to the bridle.
Step 2: Designing Your Browband
Layout your beads, crystals, and any other decorative elements on a flat surface, organizing them in the pattern you’d like to create.
Step 3: Attaching the Decorations
Using a needle and thread, sew each bead and crystal onto the leather strap. Alternatively, you can use fabric glue for quicker application.
Step 4: Securing the Ends
Once all decorations are attached, loop the ends of the leather strap through the bridle buckles and secure them tightly.
Maintenance Tips for Your DIY Browband
Keeping your hand-made browband in perfect condition is essential for its longevity and appearance.
Regular Cleaning
Regularly clean the browband using a damp cloth and mild soap to keep it looking new. Avoid harsh chemicals as they can damage the leather and decorations.
Conditioning the Leather
Use leather conditioner to maintain the suppleness of the leather. This prevents it from becoming brittle and cracking over time.
Incorporating Your Browband with Other Tack
Ensure your new browband matches well with your other horse tack. Coordinating colors and styles can give your horse a polished and professional look.
Bridles
Match your browband with a complementary bridle for a unified appearance. Bridles come in many styles, so choose one that enhances your browband.
Bits
The right bit can also complement your browband. Explore different options to find one that fits your horse comfortably and matches your browband design.
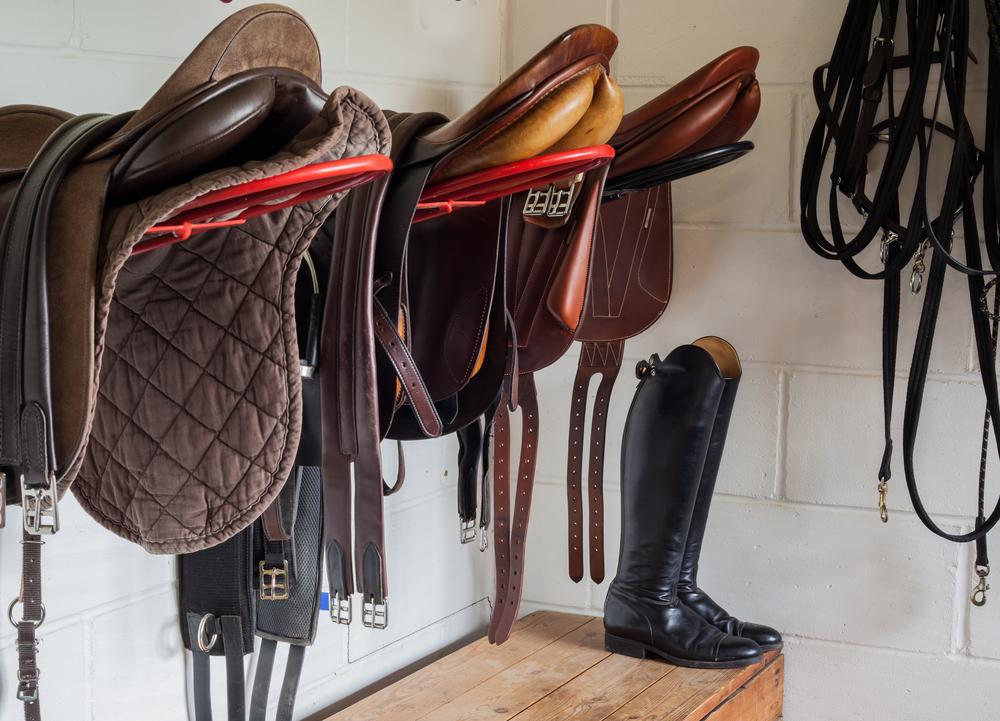
Saddles
Coordinate the browband with your saddle for a cohesive look. Matching leather tones or decorative elements can tie the entire ensemble together.
Frequently Asked Questions (FAQs)
How long does it take to make a DIY horse browband?
The time it takes can vary depending on the complexity of your design, but typically it takes a few hours to complete.
Can I use fabric instead of leather?
Yes, fabric can be used, but ensure it’s strong and durable enough to hold up under regular use.
How do I measure my horse for a browband?
Measure from the base of one ear, around the forehead to the base of the other ear to get an accurate length.
As an Amazon Associate, I earn from qualifying purchases.