Creating your own horse tack can be a rewarding and practical endeavor. Whether you are an experienced equestrian or a newcomer to the world of horseback riding, making your own tack allows you to tailor the equipment to your horse’s specific needs. In this detailed guide, we’ll walk you through the process of making horse tack step-by-step.
Introduction to Horse Tack
What exactly is horse tack? Horse tack refers to the equipment used to ride and care for horses. This includes saddles, bridles, halters, reins, and more. Having the right tack is essential for ensuring both the rider’s and horse’s comfort and safety.
Gathering Materials and Tools
Before you start making horse tack, it’s crucial to gather all the necessary materials and tools. Here’s a list of what you’ll need:
- Leather or synthetic materials
- Rivets and snaps
- Needles and thread
- Punching tools
- Cutting tools
- Measuring tape

Types of Horse Tack
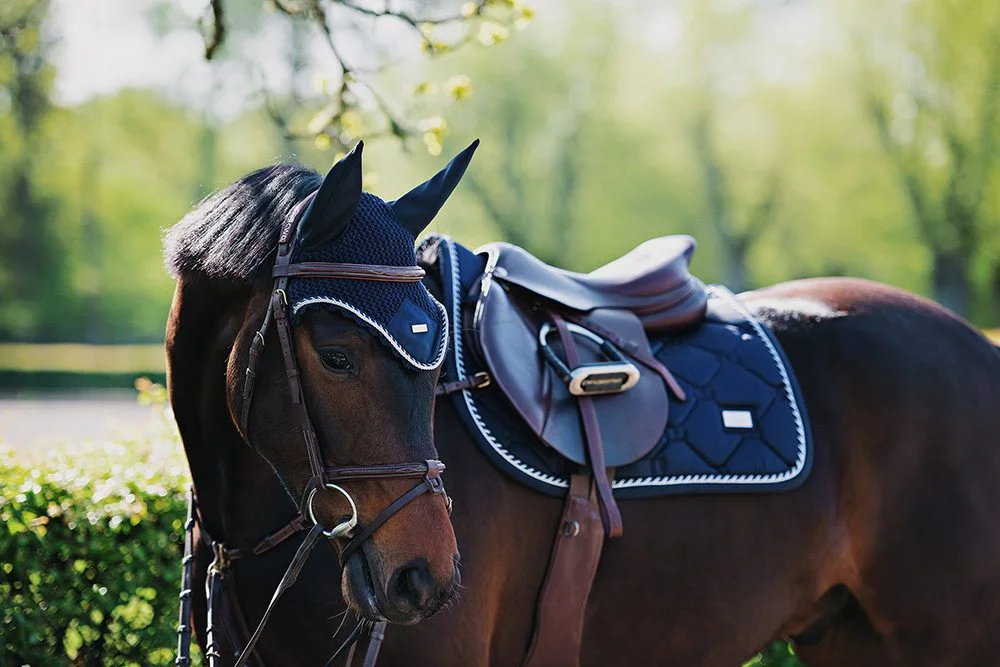
Bridles
Bridles are essential for controlling the horse’s head. They come in various types, including snaffle bridles, double bridles, and bitless bridles. When making a bridle, consider the materials and fit to ensure maximum comfort for your horse.
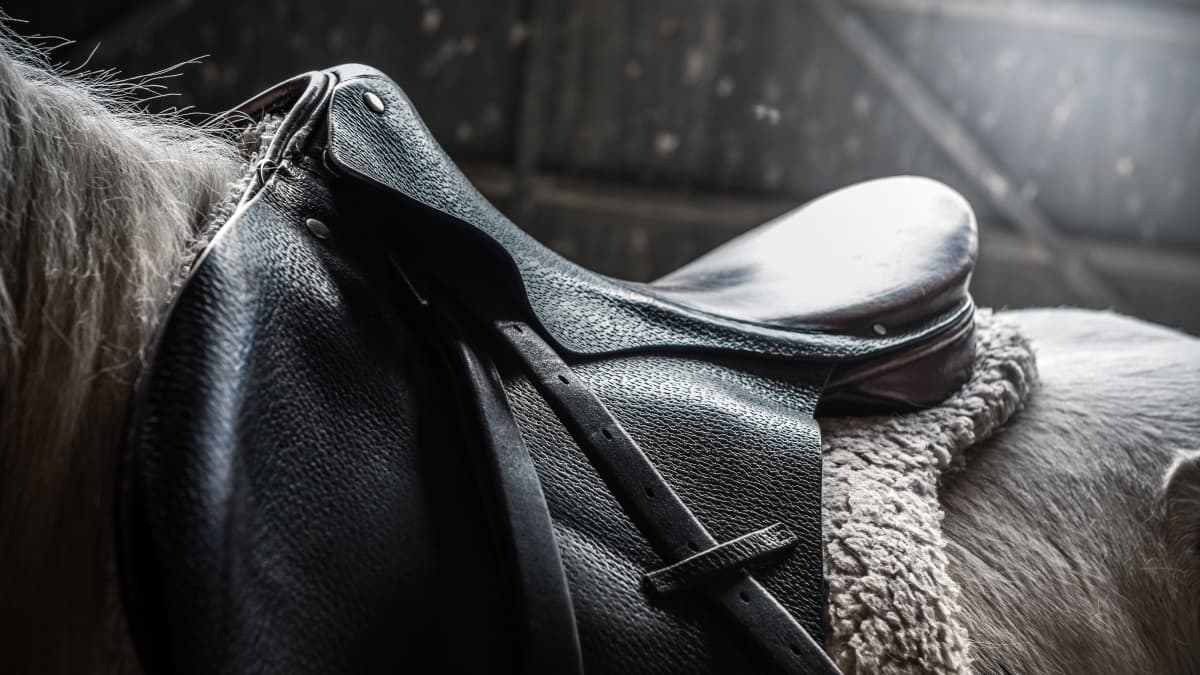
Saddles
Saddles are used to support the rider. There are different types of saddles, such as English saddles, Western saddles, and endurance saddles. Choose the right type based on your riding style and your horse’s back shape.
Halter
Halter is a headgear used for leading or tying up the horse. They are generally made from leather or nylon. A well-made halter will ensure your horse is easy to handle without causing discomfort.
Reins
Reins are attached to the bridle and used by the rider to guide the horse. They can be made from leather, rubber, or synthetic materials. Properly made reins will give you better control and communication with your horse.
Step-by-Step Guide to Making a Bridle
Step 1: Measure Your Horse’s Head
It’s essential to take accurate measurements of your horse’s head. Use a flexible measuring tape to measure the circumference of the nose, the length from the nose to the poll, and around the head where the bridle will sit.
Step 2: Cut the Materials
Once you have the measurements, use them to cut the leather or synthetic material to the appropriate lengths. Be sure to leave some extra material for adjustments.
Step 3: Assemble the Bridle
Using needles and threads, start stitching the pieces together. Attach the buckles and rivets securely. Make sure all parts fit well and do not cause any discomfort to the horse.
Read more on another type of horse tack How often to wash…
Selective Use of Embroidery and Decorations
Once the main parts of your tack are put together, you can add embroidery or other decorations to make it unique. Keep in mind that excessive decorations could affect the comfort and functionality of the tack.
FAQs
Why is it important to use high-quality materials?
High-quality materials ensure the durability and comfort of the tack, which is crucial for both the rider and the horse’s safety.
How can I know if the tack fits my horse properly?
A well-fitted tack should not cause any discomfort to your horse. Always check for signs of irritation or bruising after use.
Can I customize the tack for specific needs?
Yes, customizing tack to meet specific needs or preferences can significantly improve the riding experience.
Conclusion
Making your own horse tack is an enriching experience that brings you closer to your horse while enhancing your riding experience. The crafted pieces not only meet your specific needs but also add a personal touch to your equestrian gear. Happy crafting!
For more information on horse tack, visit this comprehensive guide.
As an Amazon Associate, I earn from qualifying purchases.