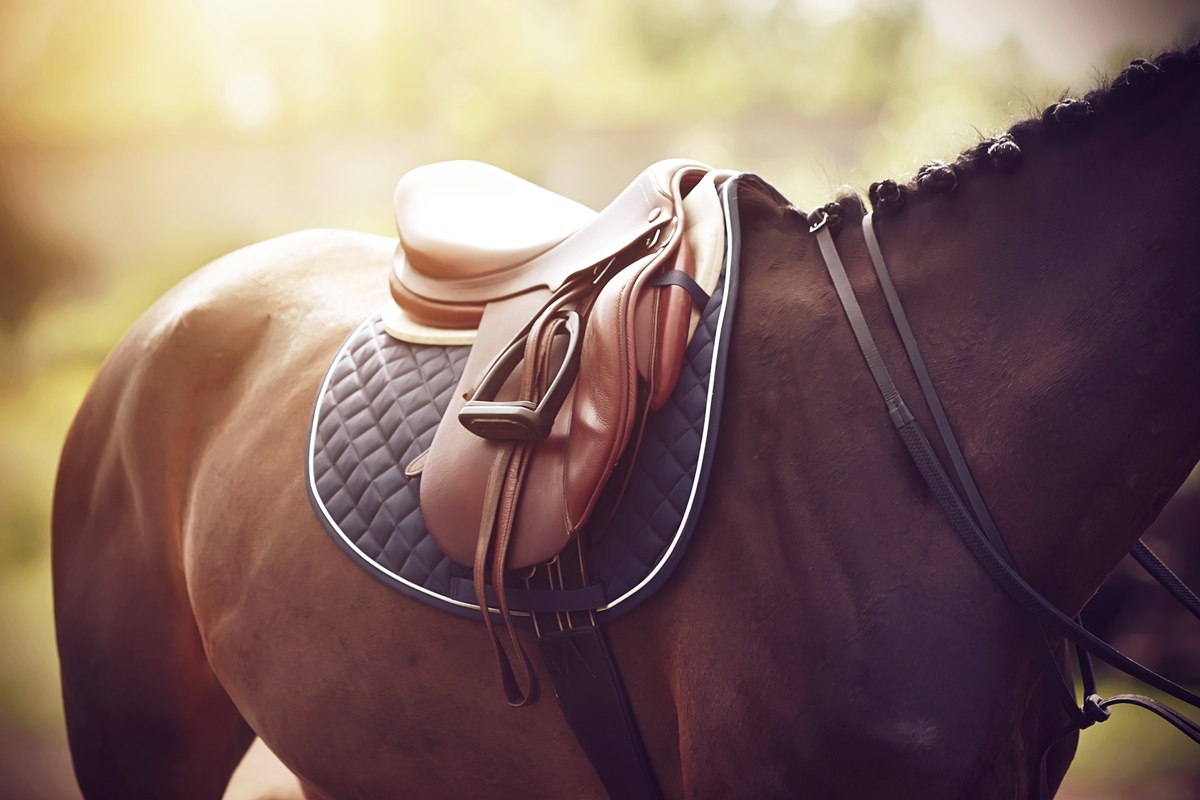
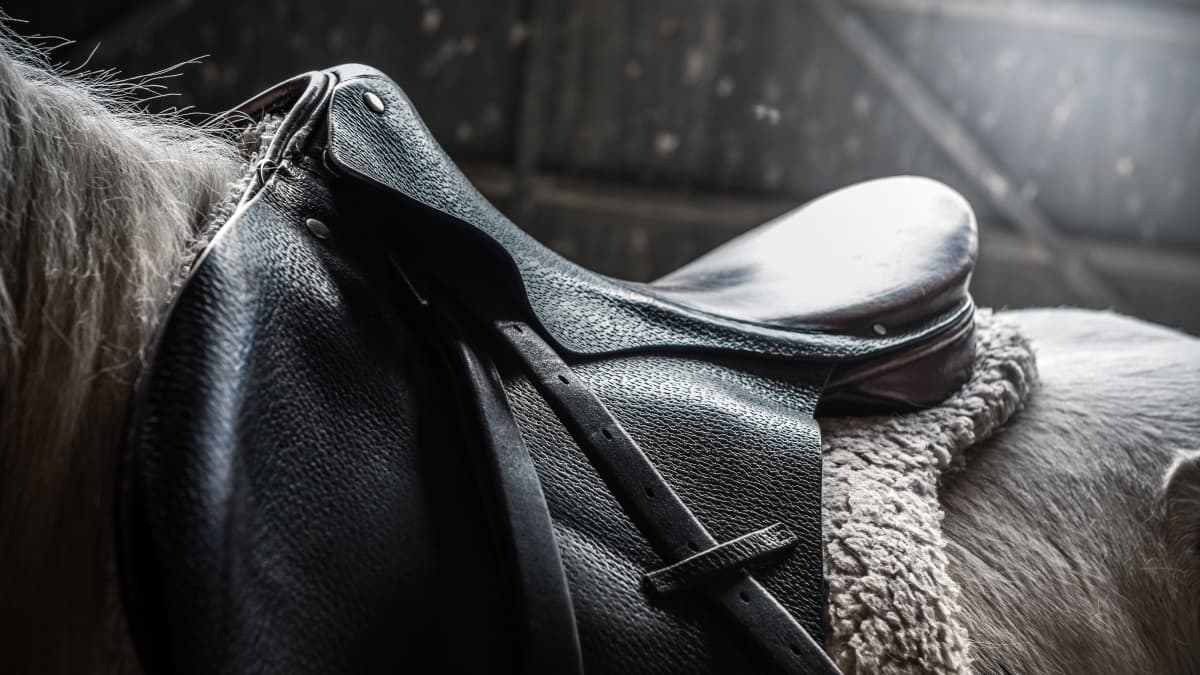
Creating a tack trunk can be a fulfilling project for any equestrian enthusiast. With the right guidance, building a durable and beautiful horse tack trunk can be simple. This article will guide you through the process of making a horse tack trunk, sharing detailed steps and helpful tips along the way.

Materials Needed When Learning How to Make Horse Tack Trunk
Before getting started, ensure you have the following materials:
- High-quality wood, such as oak or pine
- Wood screws and nails
- Wood glue
- Sandpaper
- Stain or paint
- Brushes
- Safety goggles and gloves
- Measuring tape
- Saw, hammer, and drill
Choosing the Right Wood
For your tack trunk, it is essential to select a wood type that is both sturdy and durable. Oak and pine are popular choices; they offer reliability and a pleasing aesthetic. Visit your local hardware store to explore wood options and seek professional opinions if necessary.
Step-by-Step Guide on How to Make Horse Tack Trunk
1. Designing the Tack Trunk
Designing is the first significant step. Draw a detailed plan of your trunk, including dimensions and compartments. Consider what you need to store, such as saddles, bridles, and grooming tools.
2. Cutting the Wood
Based on your design, begin cutting the wood. Use a measuring tape and mark your wood precisely to match the design dimensions. Safety is paramount, so always wear safety goggles and gloves when cutting.
3. Assembling the Trunk
Start by assembling the base and sides of the trunk. Use wood screws, nails, and wood glue for a robust build. Ensure the corners are square before the glue sets.
4. Adding Compartments
Insert wooden panels to create compartments. This step allows customization according to your storage needs.
5. Sanding the Tack Trunk
Once assembled, sand the entire trunk with fine-grit sandpaper. This process smooths out any rough edges and prepares the wood for staining or painting.

Finishing Touches to Your Horse Tack Trunk
Staining or Painting
Choose a stain or paint that complements your existing horse gear and dcor. Apply evenly with a brush and allow it to dry completely.
Hardware Installation
Install any hardware, such as hinges, handles, and latches. Ensure they are securely attached for durability and ease of use.
Organizing Your Tack Trunk
Once your trunk is complete, organize your gear inside. Customize compartments to fit each item’s size and shape for easy access and maximum efficiency.
Benefits of a Custom-Made Tack Trunk
A custom-made tack trunk offers several advantages. It provides tailored storage that fits your exact needs and adds a personal touch to your stables. Moreover, creating your trunk can be a rewarding experience and a great way to spend time with fellow equestrians.
FAQ Section
1. How long does it take to build a tack trunk?
It typically takes a weekend to complete, depending on your skill level and the complexity of your design.
2. Is it cheaper to build or buy a tack trunk?
Building a tack trunk can be more cost-effective, especially if you already have some of the required tools and materials.
3. Can I use recycled wood?
Yes, using recycled wood is a great way to be environmentally friendly and add character to your trunk. Ensure the wood is of good quality and free from pests.
Check out more on how to clean tack.
For additional resources and guidance, visit this guide on tack.
As an Amazon Associate, I earn from qualifying purchases.