Horse enthusiasts of all ages and experience levels often find great joy in collecting, crafting, and customizing Schleich horses and their accessories. Whether you are a seasoned hobbyist or a newcomer to the world of Schleich miniatures, learning how to make Schleich horse tack easy can enhance your collection and provide hours of enjoyable, creative activity.
In this article, we will delve into the fascinating world of Schleich horse tack creation and provide a step-by-step guide to help you create your own tack with ease. We will also explore tips, tricks, and important considerations to ensure your crafting experience is both fun and rewarding. So, let’s get started!

Understanding Schleich Horse Tack
What is Schleich Horse Tack?
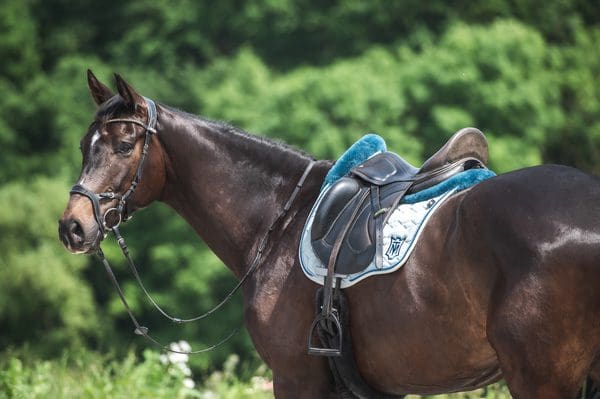
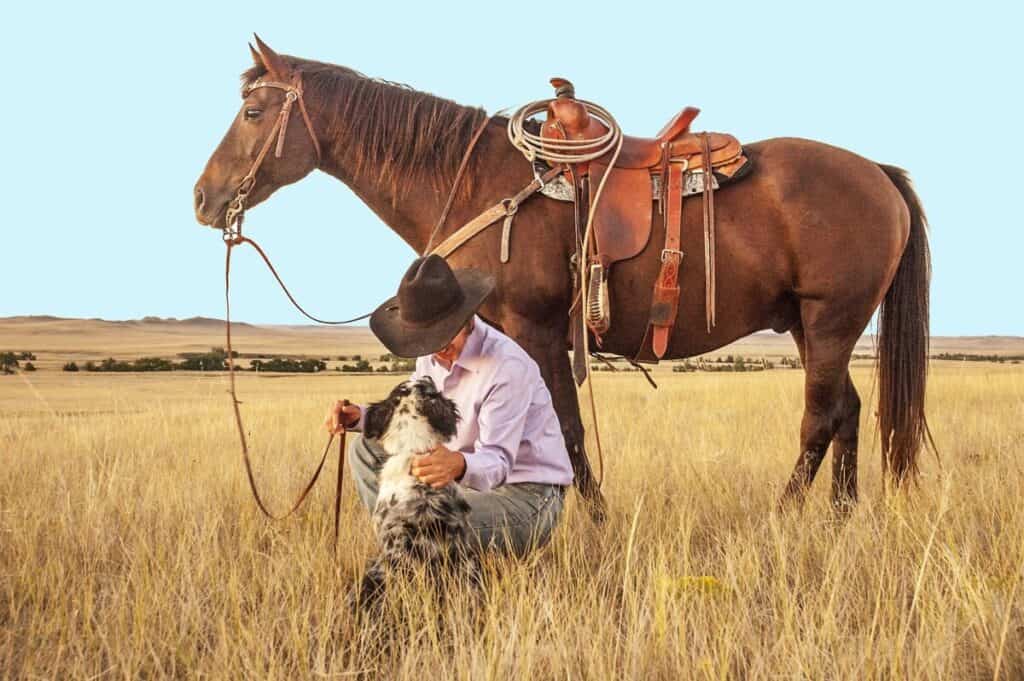
Schleich horse tack refers to the various accessories and equipment used by Schleich horse figures. This can include saddles, bridles, reins, blankets, and more. These items mimic real horse tack and are often used for display, play, or educational purposes.
Why Make Your Own Schleich Horse Tack?
Creating your own Schleich horse tack offers a range of benefits. It allows for customization to match your specific preferences and ensures that the tack fits your Schleich horse figures perfectly. Additionally, the process of crafting can be both relaxing and fulfilling, providing a sense of accomplishment with each finished piece.

Materials Needed for Schleich Horse Tack
Essential Tools and Supplies
- Thin leather or faux leather
- Strong thread or embroidery floss
- Small buckles and d-rings
- Craft glue or fabric glue
- Scissors and cutting mat
- Needle and needle-nose pliers
Optional Enhancements
- Decorative beads and charms
- Paint and paintbrushes
- Stamps and embossing tools
- Additional fabrics for padding

Step-by-Step Guide to Making Schleich Horse Tack
1. Measuring and Cutting the Leather
Begin by measuring your Schleich horse to determine the appropriate sizes for the various pieces of tack. Once measured, carefully cut the leather or faux leather into the required shapes and sizes. Use a cutting mat and sharp scissors to ensure clean edges.
2. Assembling the Bridle
Using the pre-cut pieces of leather, start by creating the bridle. Sew or glue the pieces together, ensuring that each component is securely attached. For added realism, use small buckles and d-rings to create functional attachments.
3. Crafting the Saddle
Next, move on to crafting the saddle. Cut the main saddle shape and any additional padding or decorative elements. Assemble the saddle using craft glue or thread, and attach straps to secure it to the horse.
4. Adding Reins and Accessories
Finally, create and attach the reins, stirrups, and any additional accessories you wish to include. Be creative and think about the details that will enhance the overall look of the tack.
Tips and Tricks for Crafting Schleich Horse Tack
Choosing the Right Materials
The quality of your materials will greatly impact the final result of your Schleich horse tack. Invest in high-quality leather or faux leather, sturdy thread, and durable buckles to ensure your creations are both realistic and long-lasting.
Attention to Detail
Take your time with each step of the crafting process and pay close attention to detail. Small touches, such as stitching patterns or decorative elements, can make a significant difference in the quality of the finished product.
Practice and Patience
Crafting Schleich horse tack requires practice and patience. Don’t be discouraged if your first few attempts aren’t perfect. As you gain experience, your skills will improve, and your creations will become more refined.
Caring for Your Schleich Horse Tack
Maintenance and Storage
Proper maintenance and storage are essential to keep your Schleich horse tack in excellent condition. Store your tack in a dry, dust-free environment, and avoid exposure to direct sunlight, which can cause fading or deterioration over time.
Cleaning Tips
To clean your Schleich horse tack, gently wipe it with a damp cloth. For tougher stains, use a mild soap solution and avoid abrasive cleaners that could damage the materials. Regular cleaning will ensure your tack remains attractive and functional for years to come.
Finding Inspiration
Exploring Online Communities
Join online communities and forums dedicated to Schleich enthusiasts to find inspiration and share your creations. Many hobbyists are happy to provide tips, answer questions, and offer feedback on your work.
Visiting Equestrian Events
Attending equestrian events and shows can provide valuable insights into real horse tack and inspire your Schleich creations. Observe different styles, materials, and techniques used in full-sized horse tack and adapt them to your miniature versions.
Conclusion
Learning how to make Schleich horse tack easy opens up a world of creativity and customization for equestrian enthusiasts. With the right materials, tools, and techniques, you can create beautiful, realistic tack for your Schleich horse figures. Remember, practice makes perfect, and the satisfaction of crafting your own tack is a reward in itself. Happy crafting!
FAQs
What is the best material for Schleich horse tack?
Thin leather or high-quality faux leather are ideal materials for Schleich horse tack due to their durability and realistic appearance.
How do I ensure my Schleich horse tack fits properly?
Careful measurement and attention to detail during the crafting process are key to ensuring a proper fit. Adjustments can be made as needed to achieve the best results.
Can I customize my Schleich horse tack?
Absolutely! Personalizing your Schleich horse tack with decorative elements, unique colors, and additional accessories can enhance the overall look and make your creations truly one-of-a-kind.
For more information on horse tack, visit this.
Explore our guide on what is a horse tack.
Learn about clean moldy tack.
Find out tack cost.
As an Amazon Associate, I earn from qualifying purchases.
