Maintaining horse tack is crucial for the well-being of your horse. Over time, tack can become musty, and mold can be a persistent issue. This guide provides detailed steps on how to remove mold from horse tack, helping you keep your equipment in top condition.

Understanding the Problem
What Causes Mold on Horse Tack?
Mold thrives in damp, dark environments. Horse tack is often exposed to sweat, rain, and humidity, making it susceptible to mold growth. Understanding the conditions that lead to mold can help in preventing it.
Why Tack Should Be Kept Mold-Free
Mold not only affects the longevity of your tack but also poses health risks to your horse. Moldy tack can cause skin irritations, respiratory problems, and other health issues. Regular maintenance is, therefore, a vital part of horse care.

Preliminary Steps
Safety Precautions
When removing mold, it’s essential to wear gloves and a mask. This protects you from inhaling mold spores or coming into direct contact with them, which can be harmful.
Inspecting Your Tack
Before you start cleaning, inspect your tack thoroughly. This process helps you identify the extent of mold growth and any other damages that may need repair. Check all parts, including the saddle, bridle, and girth.

Cleaning Supplies
Essential Tools and Products
You’ll need some basic supplies: a soft brush, a sponge, mild soap, white vinegar, leather conditioner, and clean water. Make sure all tools are clean to avoid spreading mold.
Step-by-Step Cleaning Process
Step 1: Disassemble the Tack
To clean effectively, disassemble the tack. Removing all parts allows you to clean every nook and cranny, ensuring no mold is left behind.
Step 2: Brushing Off Mold
Use a soft brush to gently brush off as much mold as possible. This step helps in removing the loose mold spores before you wash the tack.
Step 3: Washing with Soap and Water
Mix a small amount of mild soap with warm water. Using a sponge, gently wash the affected areas. Avoid soaking the leather, as excessive moisture can damage it.
Step 4: Applying Vinegar Solution
Mix equal parts white vinegar and water. Wipe down the tack with this solution using a clean cloth. Vinegar acts as a natural disinfectant, effectively killing mold spores.
Step 5: Drying the Tack
After cleaning, wipe the tack dry with a clean towel. Place it in a well-ventilated area to air dry completely. Avoid direct sunlight as it can damage the leather.
Step 6: Conditioning the Leather
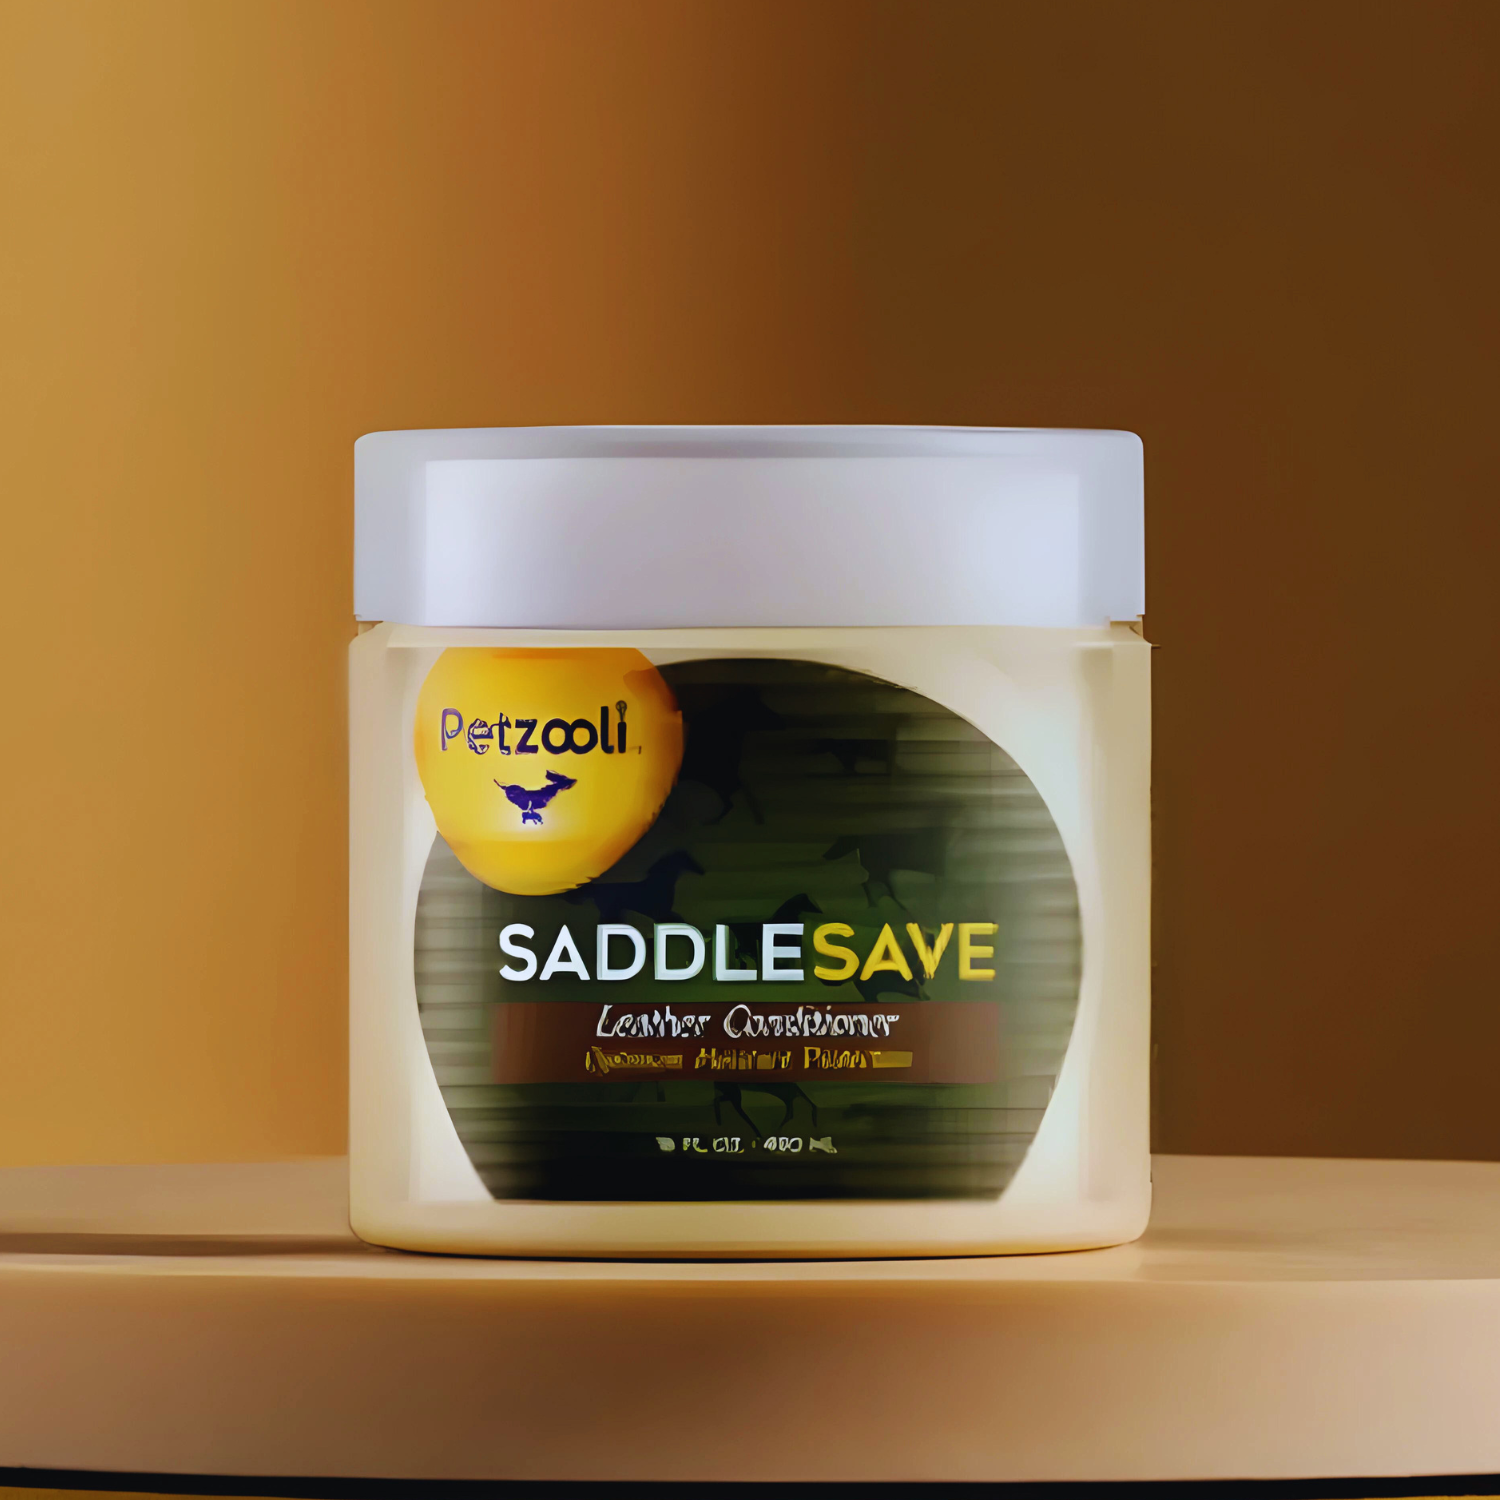
Once completely dry, apply a leather conditioner to the tack. This step is crucial to restore moisture and keep the leather supple.
Preventive Measures
Proper Storage
Store your tack in a cool, dry place. Ensure good ventilation in the storage area to prevent mold formation. Using a tack cover can also help protect against dust and humidity.
Regular Maintenance
Regularly clean and condition your tack. This not only prevents mold but also extends the life of your equipment. Schedule weekly or bi-weekly cleaning sessions depending on usage.
Troubleshooting Common Issues
Persistent Mold
If mold persists, repeat the cleaning process. For severe cases, consult a professional tack cleaner.
Leather Damage
If the leather shows signs of cracking or excessive dryness, it may need more intensive care. Consider using specialized leather repair products or seeking professional help.
FAQs
How often should I clean my tack?
Regular cleaning is recommended. Ideally, after every use, but at least once a month for items not frequently used.
Can I use bleach to clean mold?
No, bleach can damage leather. Stick to vinegar solutions and mild soaps.
What should I do if mold returns quickly?
Ensure that your storage area is dry and well-ventilated. Frequent mold may indicate high humidity or improper storage conditions.
Additional Resources
For more information on what is horse tack, how to clean moldy tack, and tack cost, check out these useful links.
Explore more tips on maintaining horse tack at Jeffers Pet.
As an Amazon Associate, I earn from qualifying purchases.
