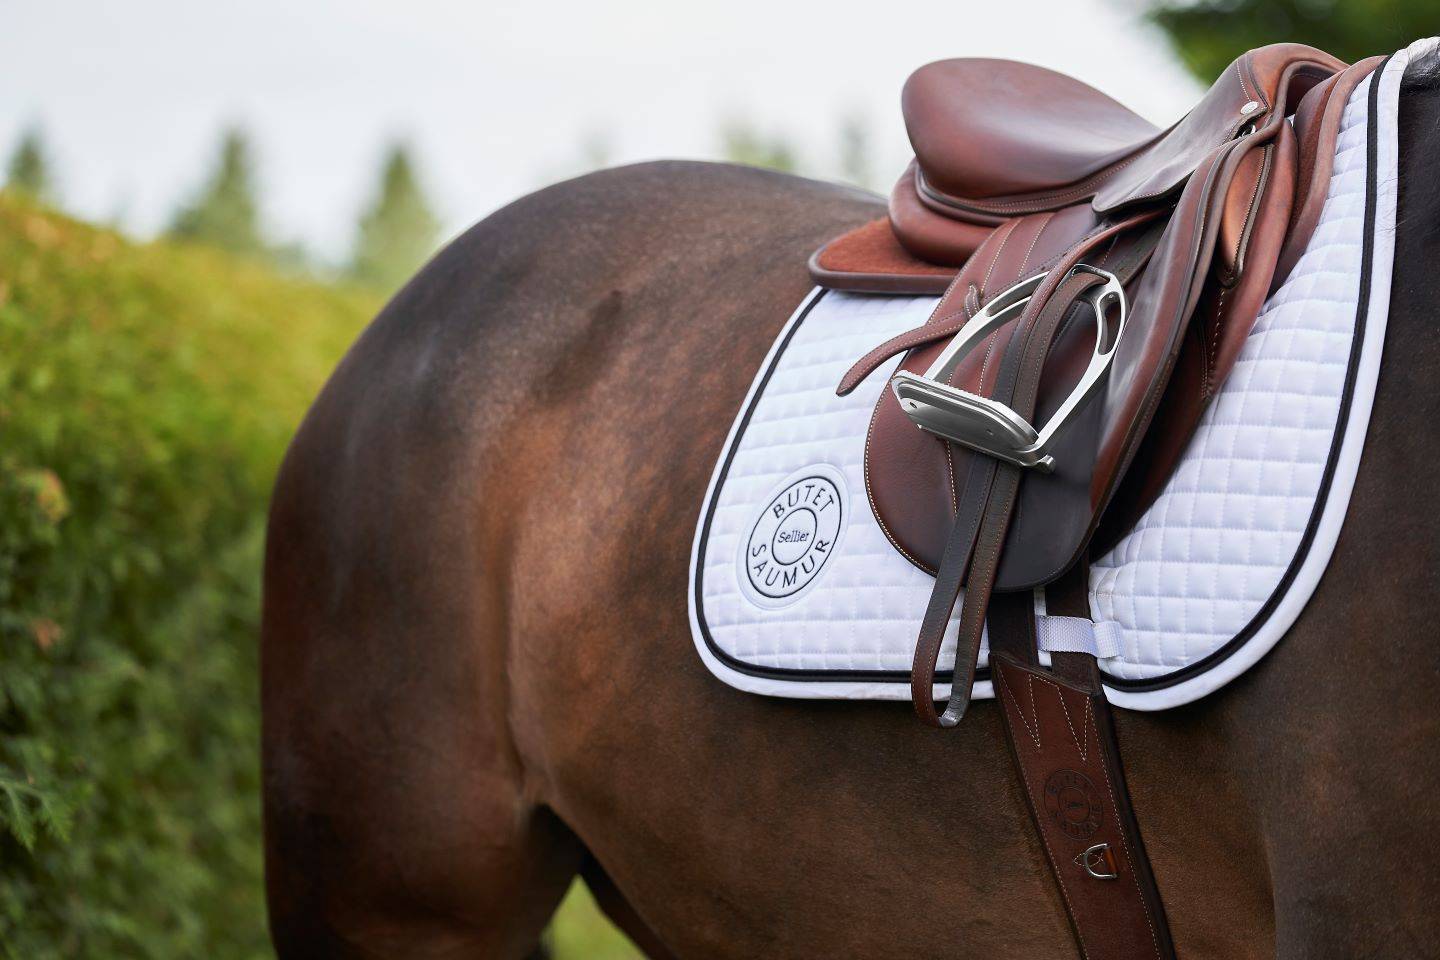
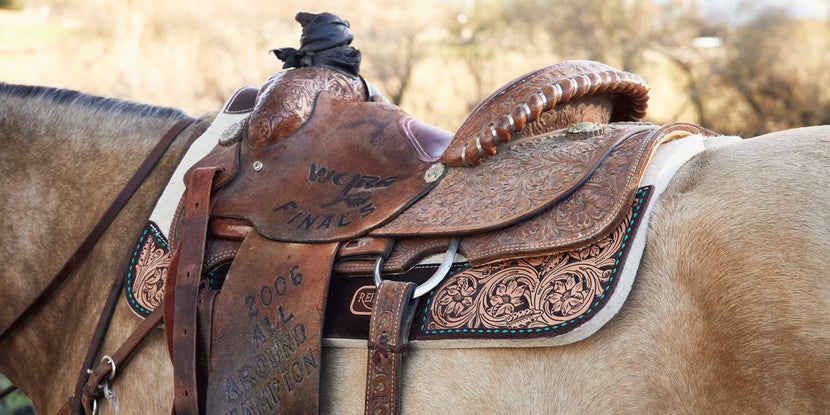
Tacking up a horse in English style might seem daunting at first, but with the right guidance, it becomes a simple and enjoyable process. In this article, we will delve into the steps to tack up your horse properly, ensuring both comfort and safety for you and your equine companion.

Understanding the Basics of English Tack
The term ‘tack’ refers to the equipment used to ride and care for a horse. In English riding, this typically includes the saddle, bridle, girth, and various other components. Knowing your tack and its purpose is the first step to becoming proficient in tacking up a horse.
The Saddle
The saddle is possibly the most crucial piece of tack. It provides the rider with a secure seat while distributing the rider’s weight evenly on the horse’s back. Different types of saddles serve various purposes; for example, there’s the dressage saddle, jumping saddle, and all-purpose saddle.
The Bridle
The bridle is used to communicate with the horse. It comprises the bit, reins, and headstall. The bit, which goes into the horse’s mouth, allows the rider to give signals. The reins connect to the bit and are held by the rider.

Step-by-Step Guide to English Tacking
Step 1: Ensure the Horse is Calm and Clean
Before you start tacking up, make sure your horse is calm and comfortable. Grooming your horse beforehand removes dirt and ensures that no irritants will be trapped under the tack.
Step 2: Placing the Saddle Pad
Place the saddle pad or numnah on the horse’s back. Make sure it’s centered and even on both sides. The purpose of the saddle pad is to protect the horse’s back and absorb sweat.
Step 3: Positioning the Saddle
Place the saddle gently over the saddle pad. Make sure it sits correctly in the area of the horse’s back behind the withers.
Step 4: Fastening the Girth
Fasten the girth by securing the straps on either side of the saddle. This keeps the saddle in place. Ensure it’s snug but not too tight to avoid discomfort.
Step 5: Adjusting Stirrups
Adjust the stirrups to your leg length. This step is critical because poorly adjusted stirrups can make riding uncomfortable and unsafe.
Step 6: Bridling the Horse
Approach your horse’s head gently and calmly. Slide the bit into its mouth and place the headstall over its ears. Adjust the bridle to ensure it fits snugly but comfortably.
Step 7: Final Checks
Walk around your horse and check all the tack to ensure everything is properly fastened and in place. Make sure there are no twists or loose straps.

Maintaining Your Tack
Cleaning the Saddle
Regular cleaning extends the life of your saddle. Use saddle soap and a soft cloth.
Maintaining the Bridle
Similarly, the bridle should be cleaned regularly. Disassemble it and clean each part individually, particularly the bit.
Troubleshooting Common Problems
Saddle Fit Issues
If your saddle doesn’t fit well, it can cause discomfort or even injury to your horse. Consult a professional saddle fitter.
Bridle Discomfort
If your horse seems uncomfortable with the bridle, double-check the fit and consider if the bit is suitable.
Benefits of Proper Tacking
Proper tacking ensures the horse’s comfort, enhances performance, and reduces the risk of injuries. It also establishes trust between the rider and the horse.
Conclusion
Tacking up a horse in the English style is an essential skill for any equestrian. By following these steps and guidelines, you’ll ensure the comfort and safety of both you and your horse, allowing for a more enjoyable and productive riding experience.
FAQs
What is the first step in tacking up a horse?
The first step is ensuring the horse is calm and clean. Groom your horse to remove any dirt that may cause irritation under the tack.
How tight should the girth be?
The girth should be snug but not too tight. It should hold the saddle in place without causing discomfort to the horse.
Why is saddle fitting important?
A well-fitted saddle is crucial for the comfort and safety of both the horse and the rider. Poor saddle fit can cause pain and even injury to the horse.
As an Amazon Associate, I earn from qualifying purchases.
